The Importance of Regular Maintenance for Your Under Counter Ice Maker
When you invest in under counter ice makers for home use, you’re adding a level of convenience that quickly becomes indispensable. But like any hardworking home appliance, these machines demand regular attention to perform at their best. Consistent cleaning and upkeep directly impact the quality of ice you consume—nobody wants to drop a cloudy, mineral-laden cube into a glass of premium bourbon. Beyond taste and appearance, routine maintenance prevents the gradual accumulation of scale inside water lines and evaporator plates, which forces the compressor to work harder and consume more energy. That increased strain doesn’t just raise your electricity bill; it also generates more noise, turning what should be a whisper-quiet appliance into a persistent kitchen distraction.
 The health implications of neglect are equally concerning. Stagnant water and damp, dark interiors create ideal conditions for mold, slime, and bacteria to thrive—contaminants that end up in every glass of ice water you serve your family. Mechanical consequences compound over time as well. Clogged filters restrict water flow, frozen components crack under pressure, and what started as a simple cleaning task escalates into a costly repair or full replacement. Regular maintenance protects your investment, keeps your ice crystal clear and safe, and ensures the machine runs efficiently and quietly throughout its lifespan. Think of it as a small commitment that pays off every single day.
Preparing to Clean Your Ice Maker: Safety and Supplies
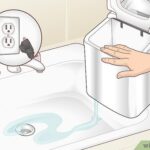
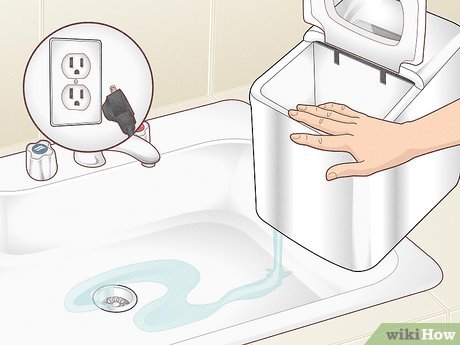
Before you start scrubbing, take a few important safety steps. First, power off the ice maker using its control panel, then unplug the unit from the wall outlet entirely. This eliminates any risk of electrical shock and protects the machine’s components while you work. Next, shut off the water supply line connected to the back of the appliance. Allow any remaining ice in the bin to melt, or manually empty it into the sink. Once the machine is powered down and drained, you’re ready to gather your supplies.
You’ll need a few basic items that most homeowners already have on hand: white distilled vinegar or a food-safe ice maker cleaner, a soft cloth or sponge, a small nylon brush for tight spaces, warm water, mild dish detergent, and dry towels. If your model has a removable water filter, have a replacement filter ready in case the current one is due for a swap. Avoid abrasive pads, bleach, or harsh chemical cleaners—these can damage interior surfaces and leave behind residues that taint your ice. Lay a towel beneath the unit to catch any drips, and keep a small bucket nearby for rinsing. With everything prepared, you can move through the cleaning process smoothly and safely without scrambling for supplies mid-task.
Step-by-Step Cleaning Process for Under Counter Ice Makers
With your machine powered down and supplies at the ready, it’s time to work through the cleaning process methodically. Breaking the job into three focused areas—interior components, the water system, and the exterior—ensures nothing gets overlooked and makes the whole task feel manageable rather than overwhelming.
Cleaning the Interior Components and Ice Bin
Start by removing the ice storage bin from the unit. Most bins lift or slide out easily, but check your owner’s manual if yours feels stuck—forcing it can crack the plastic. Wash the bin in the sink using warm water and a few drops of mild dish detergent, scrubbing gently with a soft sponge to remove any slimy residue. For stubborn mineral deposits along the walls or bottom, soak the bin in a solution of equal parts white vinegar and warm water for fifteen to twenty minutes, then scrub again. Rinse thoroughly and set it aside to air dry completely before reinstalling. Next, turn your attention to the machine’s interior walls, the evaporator plate, and any accessible metal components. Dampen a soft cloth with your vinegar solution and wipe down every surface you can reach. Use a small nylon brush to get into corners and crevices where scale and biofilm tend to hide. Avoid spraying liquid directly onto electrical connections or sensors—targeted wiping gives you control and prevents moisture damage.
Sanitizing the Water System and Filters
The water system is where hidden contamination often lurks. Mix a cleaning solution of one part white vinegar to three parts water, or follow the dilution instructions on your food-safe ice maker cleaner. Pour the solution into the water reservoir and run the machine through a complete ice-making cycle, discarding all the ice produced during this flush. Repeat the cycle with fresh, clean water at least two more times to ensure no vinegar taste or cleaning residue remains. While the system flushes, locate the water filter—typically housed behind a small panel or inside the water line connection. If the filter appears discolored, clogged, or has been in use for more than six months, replace it with a new one. A fresh filter removes sediment and chlorine that contribute to scale buildup and off-flavors, giving you noticeably cleaner, better-tasting ice from the very first batch.
Exterior Maintenance and Inspection
The outside of your under counter ice maker deserves attention too. Wipe down the door, handle, and side panels with a damp cloth and mild detergent, then dry with a clean towel to prevent water spots on stainless steel surfaces. Pull the unit forward slightly if possible and inspect the rear for dust accumulation on the condenser coils—a soft brush or vacuum with a crevice attachment clears debris that restricts airflow and forces the compressor to overwork. Check the water supply line for any signs of leaking, kinking, or mineral crust at the connection points. Finally, confirm that there’s adequate clearance around the appliance for ventilation; under counter ice makers need breathing room on all sides to dissipate heat effectively. Restricted airflow is one of the most common causes of noisy operation and reduced ice production that homeowners overlook.
Using Cleansing Tablets for Effective Ice Maker Maintenance
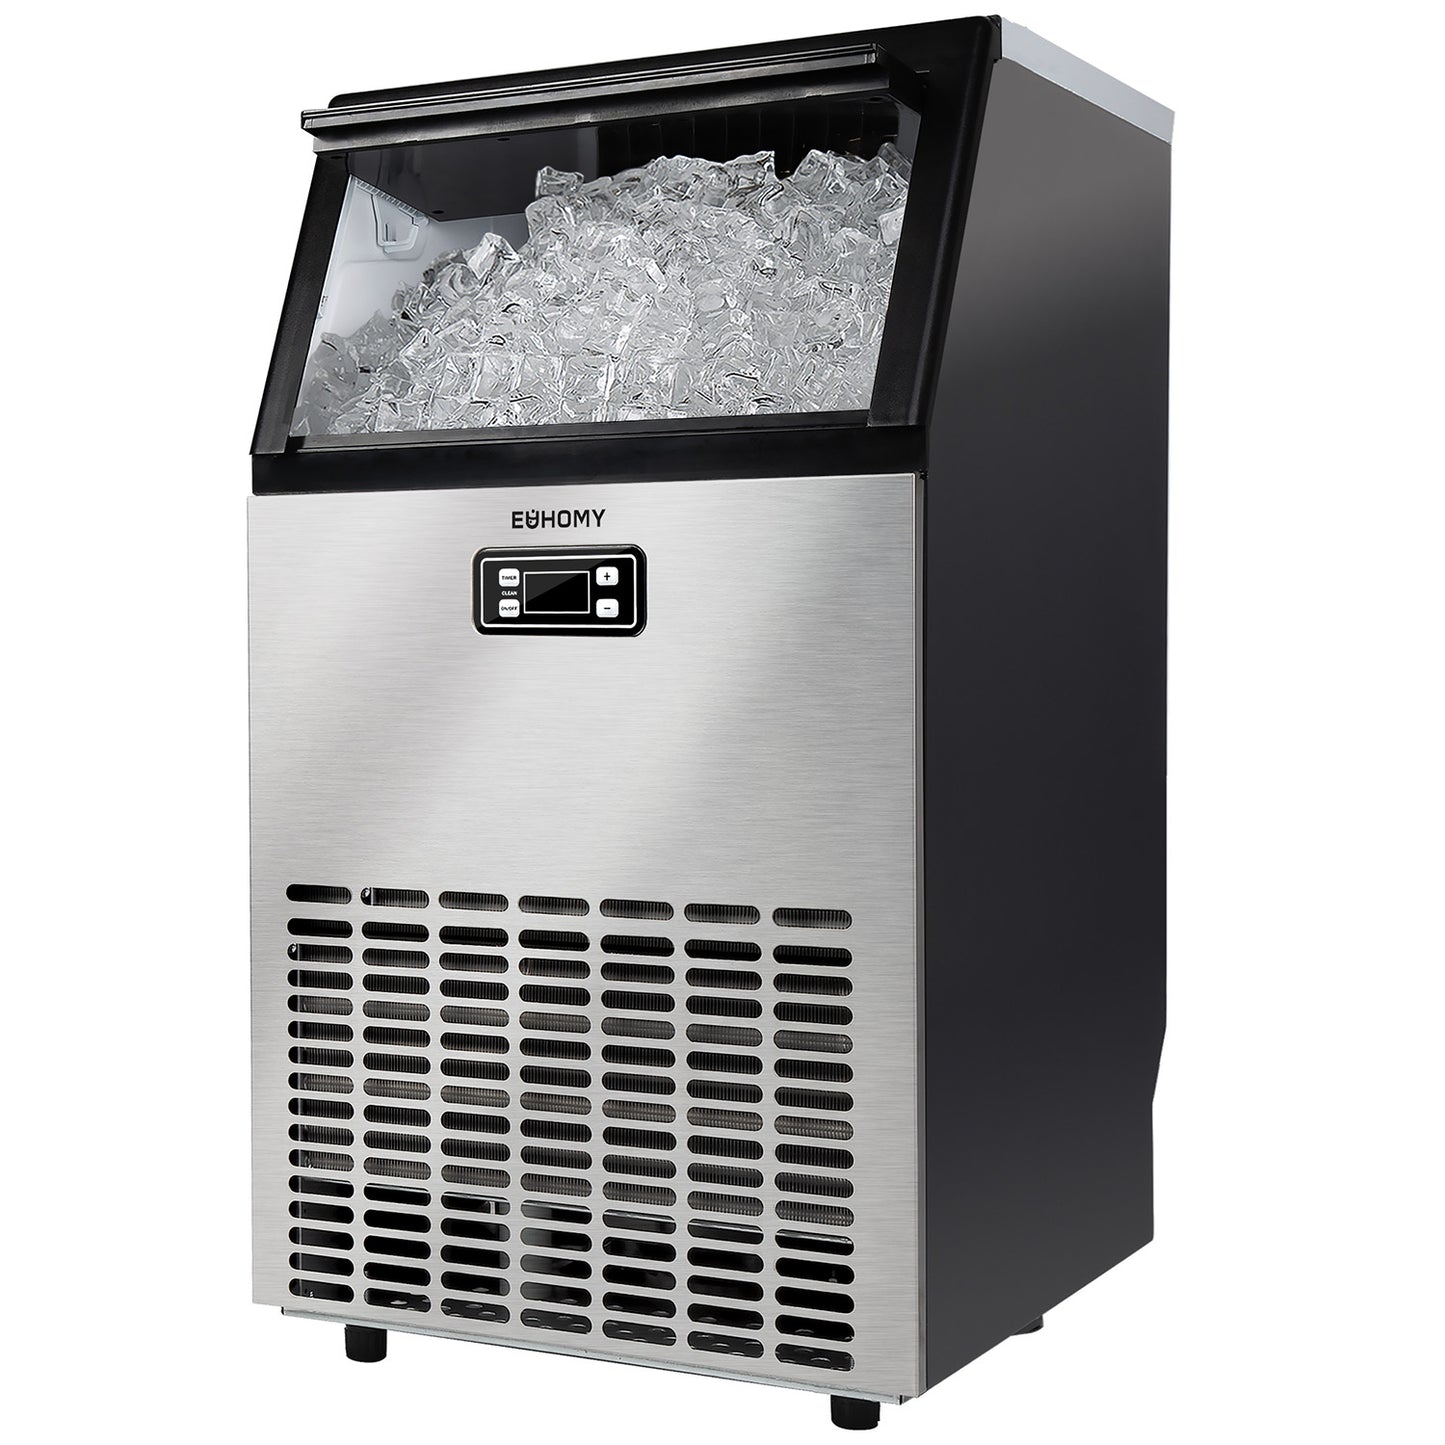
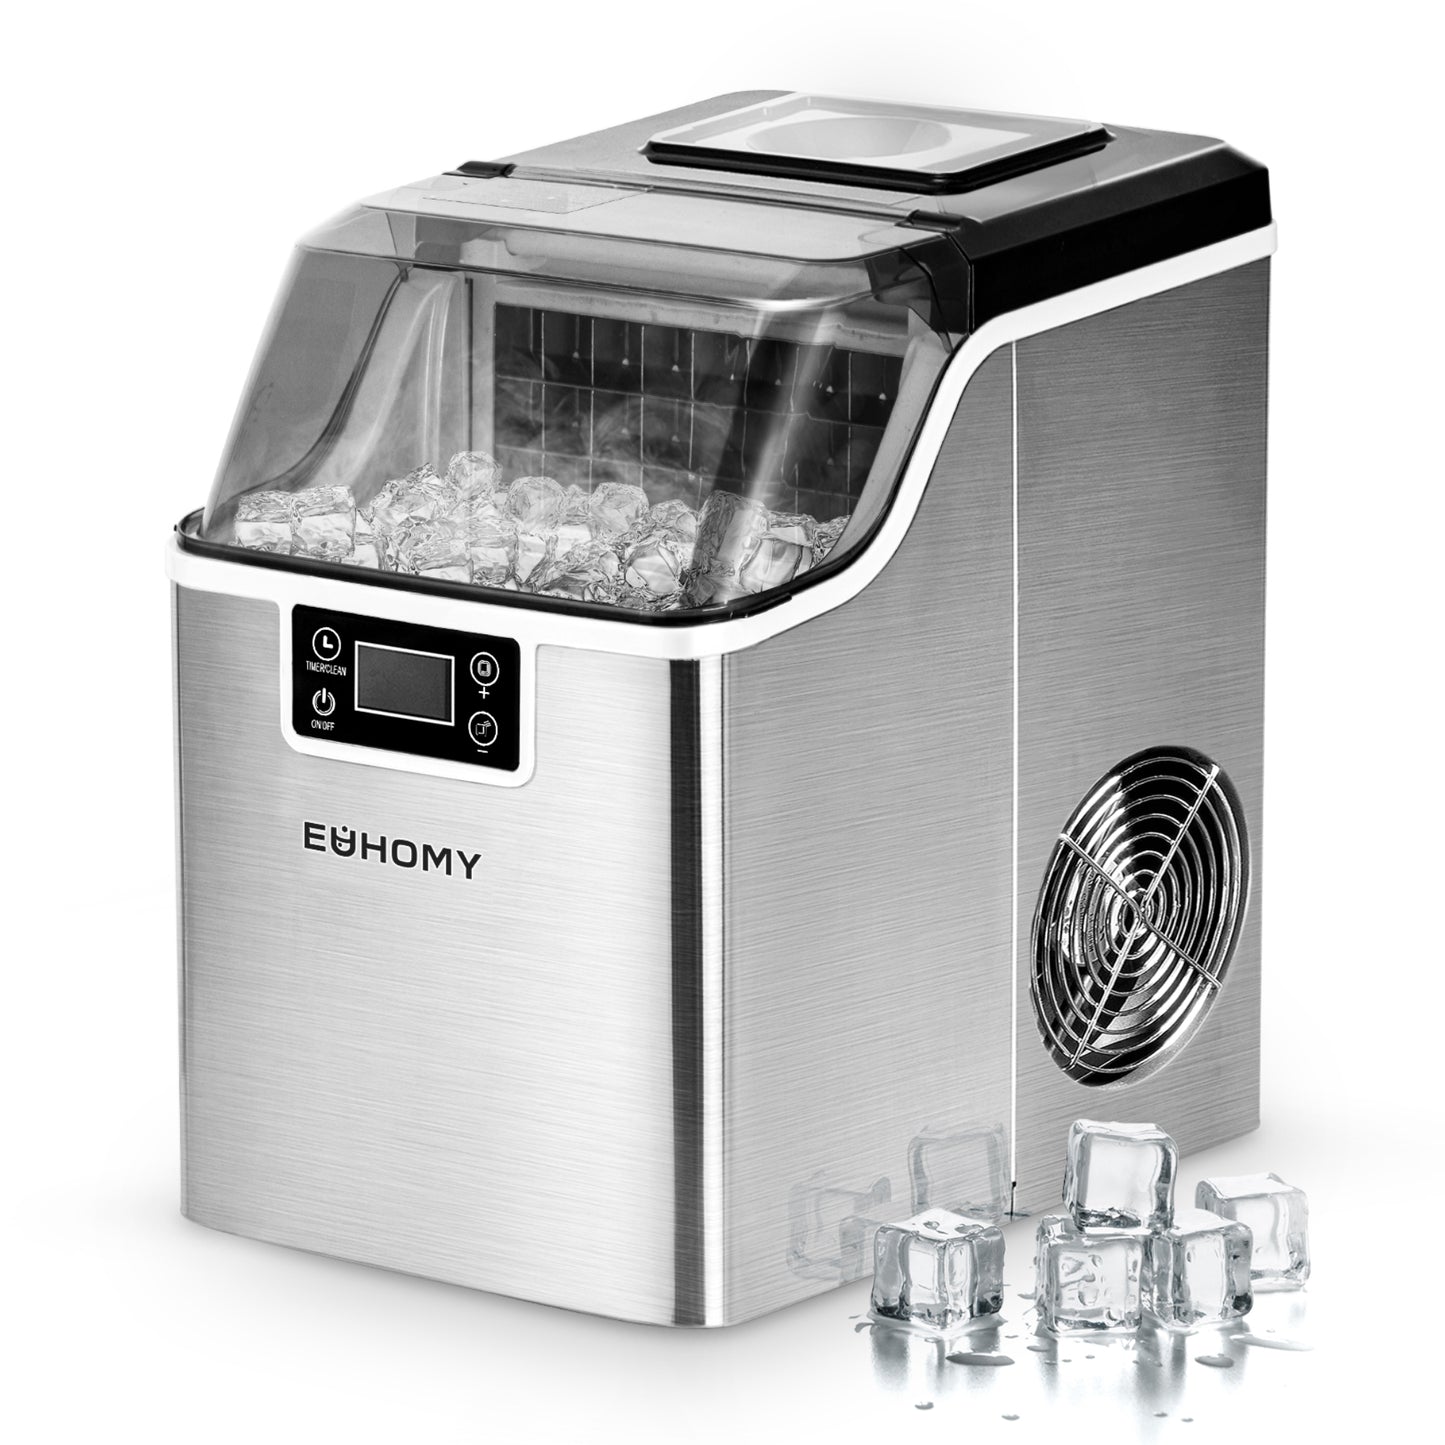
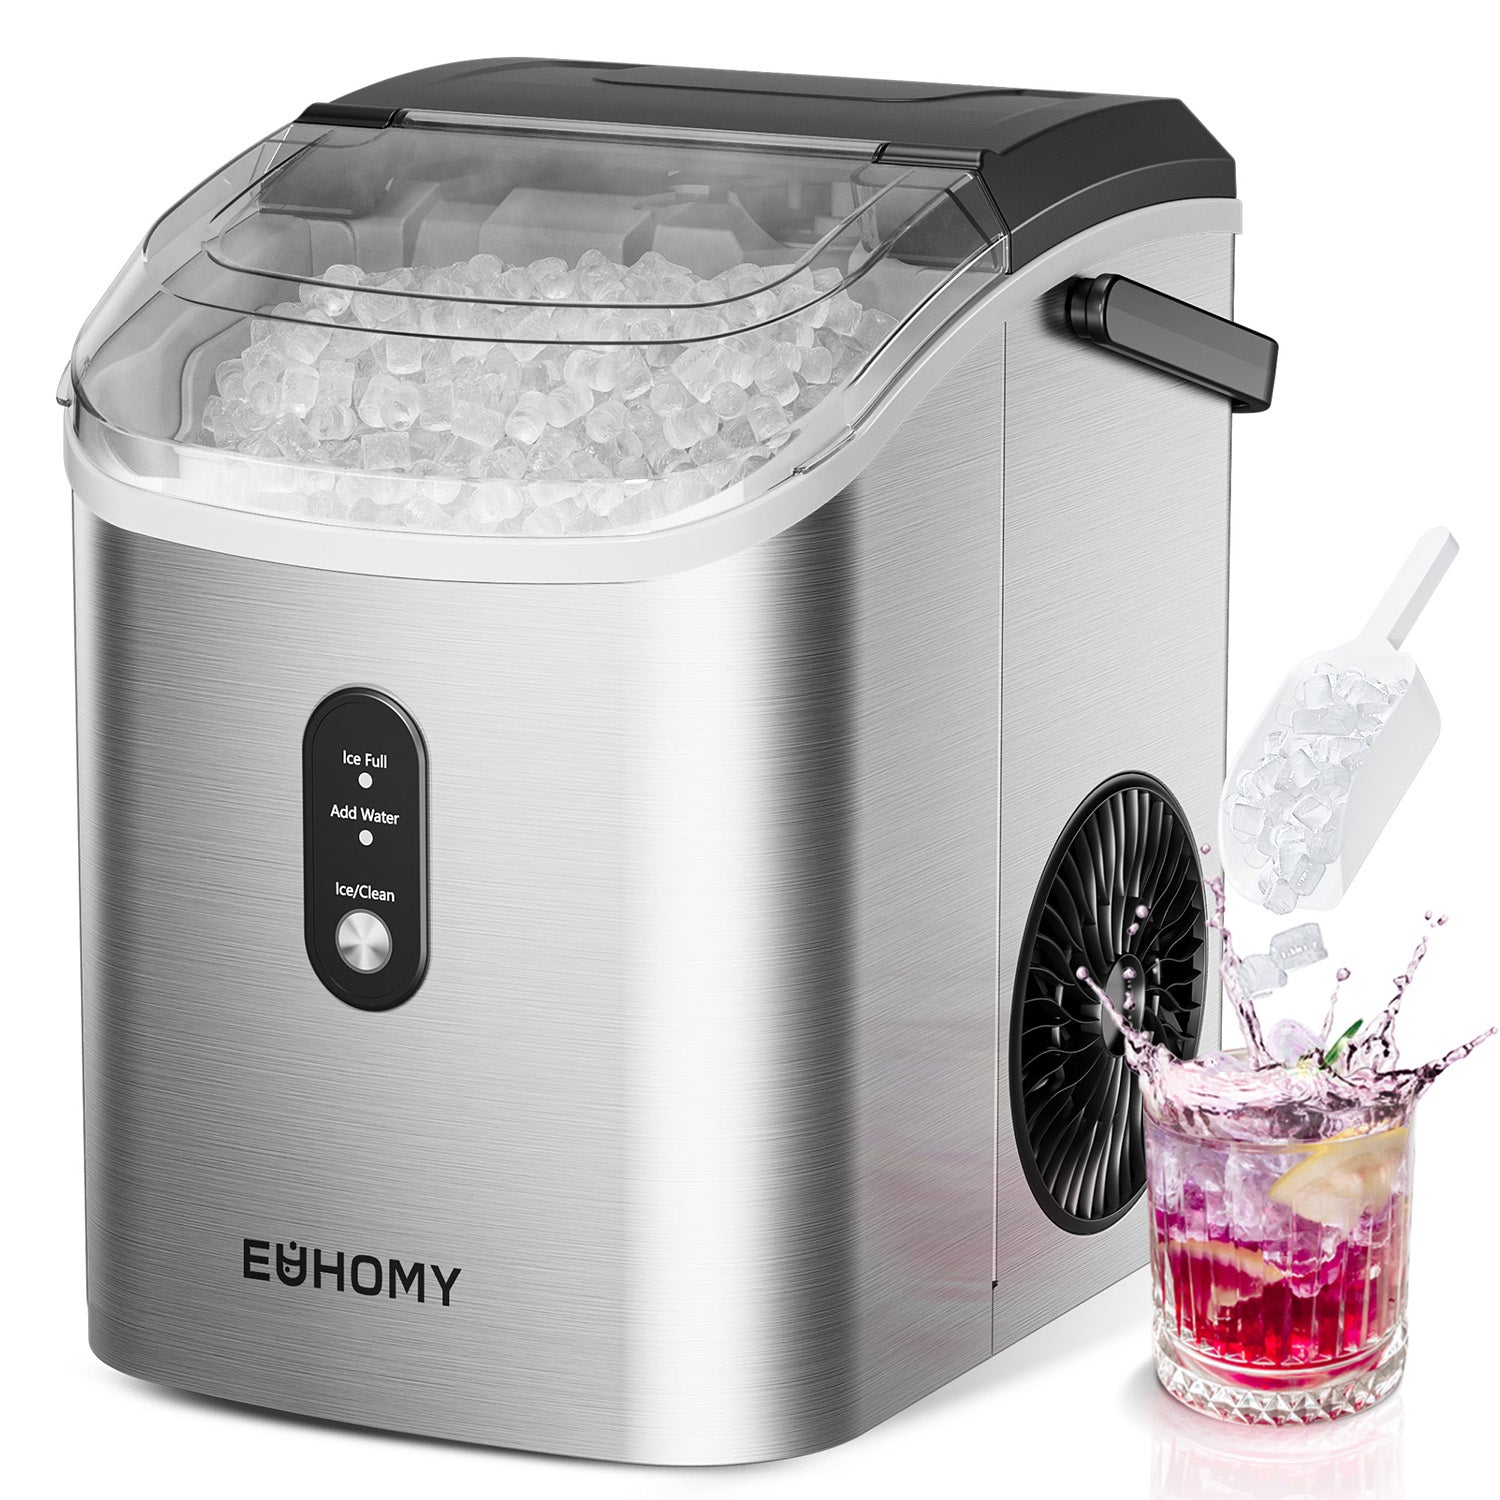
While vinegar solutions work well for routine cleaning, dedicated cleansing tablets offer a more thorough deep-cleaning option that many homeowners find simpler and more effective. These tablets, such as those offered by Euhomy, are specifically formulated to dissolve mineral scale, eliminate bacteria, and break down biofilm in ice-making systems without leaving harmful residues behind. The convenience factor is significant—rather than measuring and mixing solutions, you simply drop a tablet into the water reservoir and let the machine do the work.
To use cleansing tablets, start by emptying the ice bin and ensuring the water reservoir is filled to its normal operating level. Drop one tablet into the reservoir and allow it to dissolve completely, which typically takes a few minutes. Then run the ice maker through a full production cycle, discarding all ice produced during this cleaning run. Follow up with two to three rinse cycles using plain fresh water to flush any remaining cleaning agents from the system. The ice produced after rinsing should taste clean and neutral—if you detect any residual flavor, run one more rinse cycle. Incorporating cleansing tablets into your maintenance routine every four to six weeks provides a level of sanitization that’s difficult to achieve with household solutions alone, reaching internal components and water pathways that manual scrubbing simply cannot access. For homeowners who want effective maintenance without the guesswork, these tablets represent a straightforward, reliable solution that keeps your ice maker performing at its best.

Ensuring Efficient and Quiet Operation of Your Ice Maker
A well-maintained under counter ice maker should hum along almost unnoticed in your kitchen. To keep it that way, start by confirming the unit is perfectly level—even a slight tilt causes internal components to vibrate against each other, producing an annoying rattle that amplifies over time. Use a bubble level on top of the machine and adjust the front feet until it sits flat and stable. Regular defrosting is equally important, especially if you live in a humid climate where frost accumulates faster on the evaporator plate. When frost builds up, the machine works harder to freeze water, drawing more energy and generating more operational noise. Most models have a manual defrost option, or you can simply power down the unit and let it thaw naturally every few weeks. Avoid overloading the ice bin past its capacity line, as excess weight puts pressure on the bin mechanism and can trigger the machine to cycle erratically. Keep the area around the appliance free of clutter to promote proper airflow—restricted ventilation forces the condenser to run longer and louder. These small habits collectively ensure your ice maker operates at peak efficiency while remaining the quiet, unobtrusive home appliance it was designed to be.
Long-Term Maintenance Schedule and Troubleshooting Common Issues
Establishing a maintenance calendar takes the guesswork out of caring for your under counter ice maker. Weekly, wipe down the exterior and check the ice bin for any residue. Monthly, clean the interior surfaces and inspect the water supply line. Every three months, flush the water system with vinegar or a cleansing tablet and vacuum the condenser coils. Twice a year, replace the water filter and inspect all seals and gaskets for wear. If you notice slow ice production, check for frost buildup on the evaporator or a clogged filter restricting water flow. Unusual humming or rattling often points to a unit that’s unlevel or has dust-choked coils. When ice appears cloudy despite fresh filters and clean components, your water supply may contain high mineral content worth addressing with a separate inline filter. If problems persist after basic troubleshooting, contact a qualified appliance technician rather than attempting internal repairs yourself.
Protect Your Investment with Consistent Ice Maker Care
Maintaining your under counter ice maker doesn’t have to be complicated or time-consuming—it simply requires consistency and the right approach. As we’ve covered, regular cleaning of interior components, the ice bin, and the water system prevents mineral buildup, mold growth, and bacterial contamination that degrade both ice quality and machine performance. Preparing properly with safe supplies and following a methodical step-by-step process makes each cleaning session straightforward, even for first-time owners. Incorporating cleansing tablets like those from Euhomy into your routine provides a deeper level of sanitization that reaches areas manual cleaning cannot, offering a convenient solution for busy homeowners who want effective results without extra effort. Keeping your unit level, well-ventilated, and on a structured maintenance schedule ensures it operates quietly and efficiently month after month. Under counter ice makers for home kitchens represent a meaningful investment in daily convenience—protecting that investment through proper care means you’ll enjoy crystal-clear, great-tasting ice for years without unexpected breakdowns or costly repairs. Start implementing these practices today, and your ice maker will reward you with reliable, whisper-quiet performance every time you reach for a fresh batch of ice.