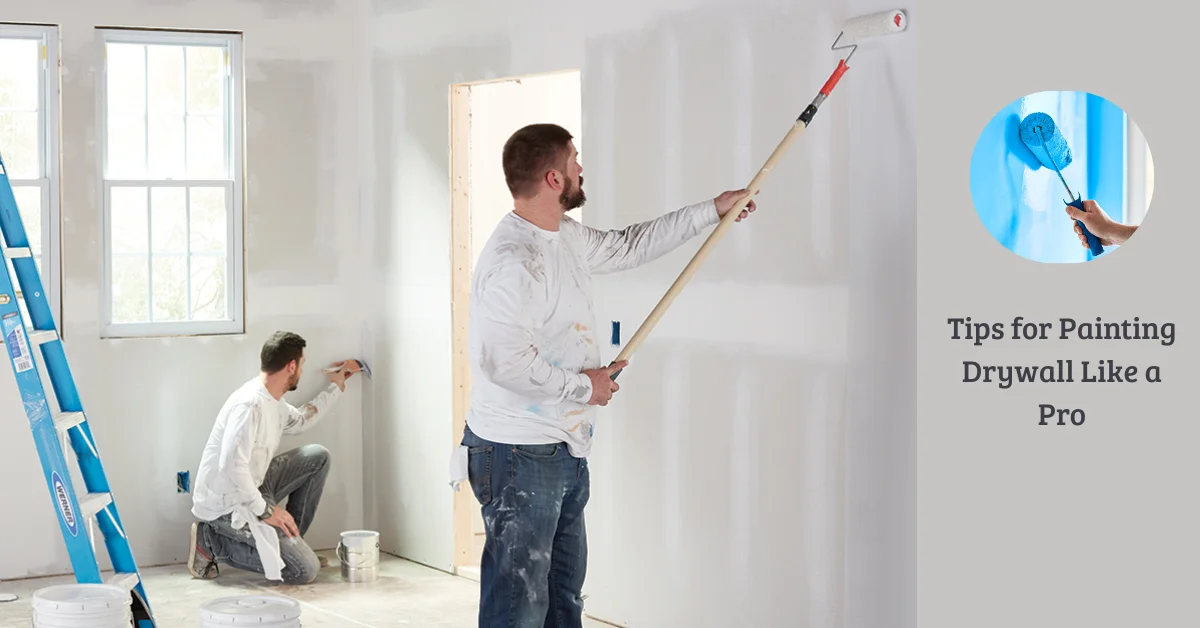
Painting drywall can transform the look of a space, whether it’s a new construction or a renovation project. However, achieving a professional-quality finish requires proper preparation, the right tools, and expert techniques. In this guide, we will walk you through the steps to ensure your drywall painting project looks flawless and lasts for years.
1. Gather the Necessary Tools and Materials
Before you begin painting, having the right tools and materials will make the process smoother and ensure a high-quality finish. Here’s what you need:
- Primer: Choose a drywall primer to create a smooth and uniform base for the paint.
- Paint: Use high-quality latex or acrylic paint suitable for drywall.
- Rollers: A 3/8-inch nap roller cover works well for smooth surfaces.
- Brushes: A 2-3 inch angled brush helps with detailed work around corners and edges.
- Painter’s Tape: Protects trims, ceilings, and fixtures from paint splatters.
- Sandpaper (120-220 grit): Used to smooth out imperfections.
- Drop Cloths: Protects floors and furniture from spills.
- Paint Tray: Helps distribute paint evenly on rollers.
- Putty Knife and Spackling Compound: Fills in small dents, cracks, and holes.
- Cleaning Supplies: A bucket of warm water, detergent, and a sponge for cleaning walls before painting.
Having these items prepared will help you paint efficiently and achieve a professional finish. For homeowners considering a Home painting service or professional support, consulting local experts can ensure top-quality results.
2. Prepare the Drywall Surface
One of the biggest mistakes beginners make is painting over an unprepared surface. Drywall must be properly cleaned and prepped to ensure paint adheres well and looks smooth.
Inspect for Imperfections
Run your hand over the drywall and look for dents, nail holes, or uneven patches. Use a spackling compound to fill in any imperfections, then sand the area smoothly with fine-grit sandpaper.
Clean the Surface
Dust and dirt can prevent paint from sticking properly. Use a damp cloth or sponge to wipe down the drywall. If the walls are greasy (common in kitchens), use a mild detergent solution.
Sand the Drywall
Lightly sanding the surface before painting removes any rough patches or dried joint compound residue. Always wipe off sanding dust with a clean, dry cloth.
3. Apply a High-Quality Primer
A primer is essential when painting drywall, especially if it’s new. Priming helps in:
- Sealing the porous surface of drywall.
- Ensuring even paint absorption.
- Reducing the number of coats needed for full coverage.
- Improving paint adhesion.
Use a roller to apply the primer in a thin, even coat, and let it dry for the recommended time (usually 4-6 hours) before painting.
4. Choose the Right Paint
Selecting the right paint is crucial for durability and aesthetics. Consider these factors:
- Flat or Matte Paint: Hides imperfections but is harder to clean.
- Eggshell or Satin Finish: Offers a slight sheen and is easy to clean, making it ideal for living spaces.
- Semi-Gloss or Glossy Paint: Best for kitchens and bathrooms as it’s highly durable and resistant to moisture.
For larger projects, professional painting contractors can provide expertise and ensure a flawless finish.
5. Cut In the Edges First
Professional painters always start by “cutting in” the edges before rolling paint onto the walls. This means using a brush to paint around the edges, corners, ceilings, and trim.
- Dip a 2-inch angled brush into the paint and remove excess paint by tapping it against the side of the can.
- Paint along the edges in long, smooth strokes.
- Feather out the edges to blend with the roller application later.
6. Use the Right Rolling Technique
Rolling is the fastest way to cover large drywall surfaces. Follow these tips for an even coat:
- Load the roller properly: Dip the roller in the tray and roll it back and forth until evenly covered but not dripping.
- Use the “W” technique: Start painting in a “W” pattern, then fill in the gaps with vertical strokes to avoid streaks.
- Apply multiple thin coats: One thick coat can lead to drips and uneven drying. Two to three thin coats work best.
- Maintain a wet edge: Work in sections, ensuring each new stroke slightly overlaps the previous one to prevent lap marks.
7. Allow Proper Drying Time Between Coats
Patience is key when painting drywall. Each coat needs to dry completely before applying the next layer. Depending on humidity and paint type, this could take anywhere from 2 to 6 hours. Rushing this step can lead to smudging and an uneven finish.
8. Sand Between Coats for a Smooth Finish
Once the first coat is dry, lightly sand the surface with fine-grit sandpaper. This step removes minor imperfections and ensures a smoother final coat. Always wipe away sanding dust before applying the next coat.
9. Remove Painter’s Tape Carefully
Once the final coat of paint is dry, remove the painter’s tape at a 45-degree angle to prevent peeling. If you wait too long, the paint may pull away with the tape, ruining clean lines.
10. Clean Up Properly
Cleaning up properly ensures that your tools last for future projects. Follow these steps:
- Wash brushes and rollers with warm, soapy water if using latex paint.
- Store leftover paint in a sealed container for touch-ups.
- Dispose of used drop cloths and painter’s tape responsibly.
- Allow your painted walls to cure fully before hanging decorations.
11. Maintain Your Painted Drywall
To keep your drywall looking fresh, follow these maintenance tips:
- Dust walls regularly: Use a microfiber cloth to prevent dust buildup.
- Spot clean stains: Use a damp sponge with mild soap for stubborn marks.
- Avoid harsh chemicals: These can damage the paint finish.
- Touch up as needed: Keep a small amount of leftover paint for quick fixes.
Final Thoughts
Painting drywall like a pro requires proper preparation, the right materials, and attention to detail. By following these steps—cleaning, priming, cutting in, rolling, and finishing—you can achieve a flawless, long-lasting paint job. Whether you’re refreshing an old wall or working on a brand-new drywall installation, these expert tips will help you get professional results every time. Happy painting!

Bit Labs Author is a multi-niche digital expert who creates sharp, high-impact content across Tech, Digital Marketing, Business, Law, News, and Lifestyle. Known for blending research with creativity, they transform complex topics into clear, engaging insights that empower readers to learn, grow, and stay ahead in the digital age.